The Problem Isn’t the Cold. It’s the Heat You’re Leaking.
Every January, the same scene plays out on streets across Calgary. A homeowner notices thick ridges of ice forming along the eaves. Icicles start hanging off the gutters. A week later, a brown stain appears on the bedroom ceiling. They blame the winter. They blame the snow. Sometimes they blame the roofer who did the last installation.
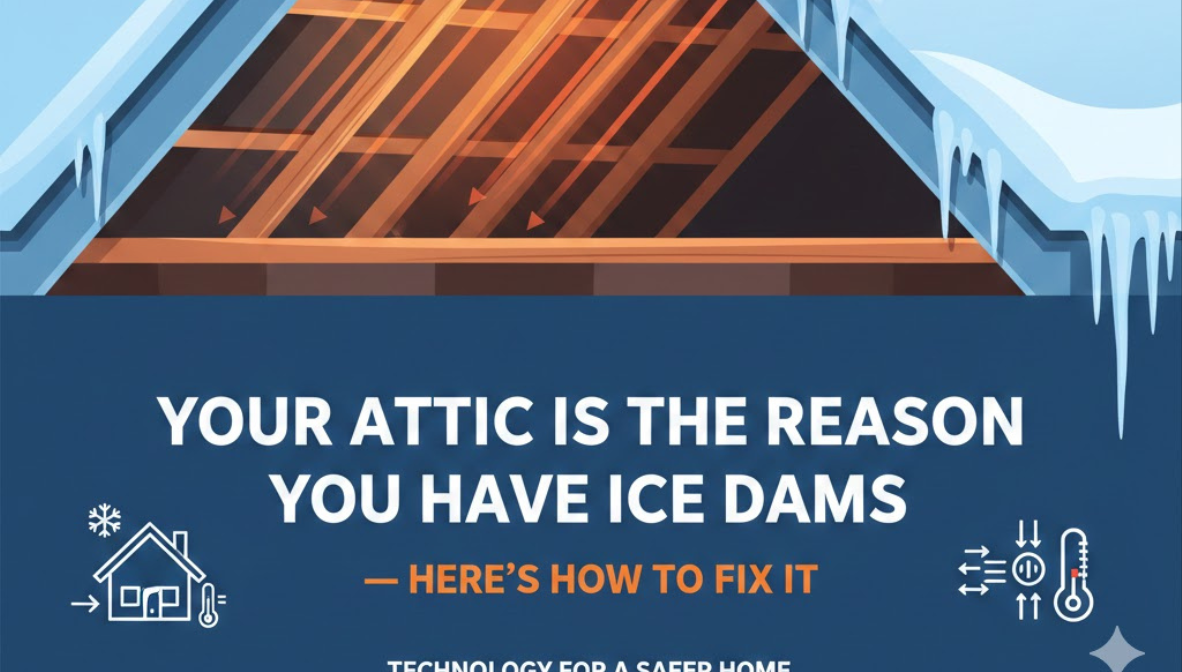
But the actual culprit is almost always sitting right above their heads, invisible and ignored: a poorly ventilated attic. Identifying these systemic issues requires a professional roof repair and maintenance assessment before the winter ice begins to take hold.
Ice dams are one of the most common and most misunderstood roofing problems in this city. People see ice on the roof and assume it’s a roofing issue. It’s not. It’s a heat management issue. And once you understand the mechanics, the solution becomes obvious — even if nobody would ever call it exciting.
How Ice Dams Actually Form (It’s Not What Most People Think)
Here’s the chain of events. Your furnace kicks on. Your family cooks dinner. The lights are running, the hot water is flowing, everyone’s body heat is adding warmth to the house. All that thermal energy rises through your ceilings and, if your insulation and air sealing aren’t doing their job, it escapes into the attic.
That escaped heat warms the underside of the roof deck. Snow sitting on top of the roof starts to melt, but only on the sections directly above your heated living space. Meltwater trickles down the slope toward the eaves — the overhanging portion of the roof that extends beyond your exterior walls. Since there’s no living space below the eaves, there’s no heat reaching that part of the deck. The water hits that cold zone and refreezes.
Layer by layer, ice builds up along the edge. Eventually, you’ve got a solid dam of ice sitting right at the gutter line. Meltwater from higher up the roof has nowhere to go. It pools behind the dam, works its way under shingle tabs, and seeps into the roof structure. That’s when it shows up on your ceiling.
The Counterintuitive Fix — You Need a Colder Roof
Most homeowners’ first instinct is to try to remove the ice. They grab a hammer, a heat cable, or a bag of calcium chloride. These are band-aids. The real fix is stopping the uneven melting that causes the dam in the first place.
You need your roof surface to stay uniformly cold — as close to outdoor temperature as possible — so snow doesn’t melt from the bottom up. That means two things: keeping heat from entering the attic, and exhausting any heat that does get in before it can warm the deck.
This is where attic ventilation earns its keep.
How a Proper Ventilation System Works
A correctly ventilated attic operates on a simple convection loop. Intake vents in the soffit and fascia allow cold outside air to enter at the lowest point of the attic. That cold air flows upward along the underside of the roof deck, absorbing any stray warmth as it goes. Exhaust vents at the ridge let the now-warmer air escape out the top.
When this loop is functioning, the attic stays cold and the entire roof surface stays at a consistent temperature. Snow melts evenly (or not at all), and there’s no meltwater refreezing at the eaves because there’s no temperature differential to cause it.
Continuous ridge vents running the full length of the peak are generally the best exhaust solution. They provide even airflow across the entire deck. Box vents and turbine vents work in situations where ridge vents aren’t feasible, but they need to be correctly sized and spaced. I’ve seen homes with turbine vents installed on one side of the roof and nothing on the other — the attic ventilation was functionally useless because the layout created dead zones where air couldn’t circulate.
Powered attic fans are a tempting idea that frequently backfires. If there isn’t enough soffit intake area, a powered fan will pull conditioned air up from your living space through every ceiling penetration it can find. You end up heating the attic more, not less, while also increasing your energy bill. Unless the intake capacity has been specifically calculated to match the fan’s output, skip the powered fan.
Insulation Is Doing Half the Work
Ventilation handles the heat that gets into the attic. Insulation’s job is to stop that heat from getting there in the first place.
Alberta building code calls for R-50 in attic spaces. That’s a solid thermal barrier when it’s actually present and properly installed. The reality in many Calgary homes, especially anything built before the mid-1990s, is dramatically different. I’ve been in attics where the insulation measured R-15 or R-20 — barely half of what’s recommended. In those houses, heat pours through the ceiling like water through a sieve.
Topping up insulation is one of the most cost-effective home improvements you can make. Blown-in cellulose and blown-in fibreglass are both solid options. The material gets distributed across the entire attic floor, filling gaps and covering the thin spots that always seem to develop around the perimeter and near access hatches. The project typically pays for itself within a few winters through reduced heating costs alone, and the ice dam prevention is a bonus.
The Invisible Problem — Air Leaks
Here’s the piece that gets missed most often, even by contractors who should know better. Insulation slows heat transfer through solid surfaces, but it does almost nothing to stop warm air that’s physically moving through gaps.
Your attic floor is full of holes. Not visible, obvious holes — but functional ones. Every recessed light fixture is a chimney for warm air. Every plumbing vent pipe that passes through the ceiling has a gap around it. The attic hatch is almost never properly sealed. Bathroom exhaust fan housings, electrical wire penetrations, the gap around your furnace flue — each one is letting warm, moist air from your living space stream directly into the attic.
Sealing these gaps with caulk, spray foam, or metal flashing (around hot sources like furnace flues) is tedious work that nobody enjoys. It’s also arguably the single most impactful thing you can do to prevent ice dams. I’ve seen homes where air sealing alone dropped attic temperatures by 10 to 15 degrees in winter — enough to completely eliminate the ice buildup they’d been fighting for years.
Your Bathroom Fan Might Be Making Everything Worse
This one drives me crazy because it’s so common and so easily fixed. In a lot of older Calgary homes, the ductwork from bathroom exhaust fans terminates right inside the attic. Instead of venting humid air to the outdoors, it dumps it directly under the roof deck.
Think about what that means. Every shower, every bath, every time someone runs hot water in the bathroom — warm, moisture-laden air gets pumped straight into the attic. That moisture condenses on the cold roof deck, feeds mould growth, soaks into insulation, and contributes to exactly the kind of uneven heating that causes ice dams.
Extending those ducts through the roof or soffit to the outside is a straightforward job. A couple hours of work, a few dollars in materials, and the problem is solved permanently. If you go into your attic and find a flex duct that just… ends… somewhere in the insulation, get it fixed before next winter.
Warning Signs You Shouldn’t Ignore
Some indicators that your attic ventilation and insulation need attention are visible from inside the house. Icicles forming along the eaves every winter. Ice dams in the same spots year after year. Water stains on upstairs ceilings in late winter or early spring.
Others require a trip to the attic. Frost or moisture on the underside of the roof deck. Damp or matted insulation. A musty smell that suggests mould has taken hold somewhere. Visible gaps in the insulation, especially near the eaves where it tends to get thin or get pushed aside.
If any of these sound familiar, don’t wait for another winter to make it worse. The damage from ice dams is cumulative. The rot gets deeper. The mould spreads. The insulation gets more degraded. Each season of neglect raises the eventual cost of fixing it.
Complex Rooflines Need Custom Solutions
A simple gable roof with an open attic is the easiest scenario for ventilation. Cold air in at the soffits, warm air out at the ridge, done. But plenty of Calgary homes have more complicated layouts — hip roofs, multiple dormers, intersecting valleys, finished attic rooms, cathedral ceilings with no traditional attic cavity at all.
Each of these presents unique challenges. Hip roofs have less ridge length relative to their footprint, so exhaust capacity is naturally limited. Dormers create pockets where air stagnates. Cathedral ceilings need ventilation baffles between every rafter pair to maintain airflow from soffit to ridge in a space that’s only inches deep.
There’s no universal template that works for every house. A ventilation strategy needs to account for the specific geometry, insulation approach, and air sealing condition of the home it’s being designed for. Cookie-cutter solutions applied to complicated rooflines are how you end up with some sections perfectly ventilated and others still forming ice dams every February.
Fix It Now, Save Money for Years
Getting your attic ventilation, insulation, and air sealing right isn’t a glamorous project. Nobody’s going to come over and admire the work. You can’t take a photo of it for social media. But the return on investment is hard to argue with: lower heating bills every single month, no more ice dams eating away at your roof, no more ceiling stains, no more emergency repairs in the middle of January.
It’s the kind of boring, practical improvement that quietly pays you back every winter for as long as you own the house. And in a city that throws as much at your roof as Calgary does, that’s worth a lot more than something pretty.